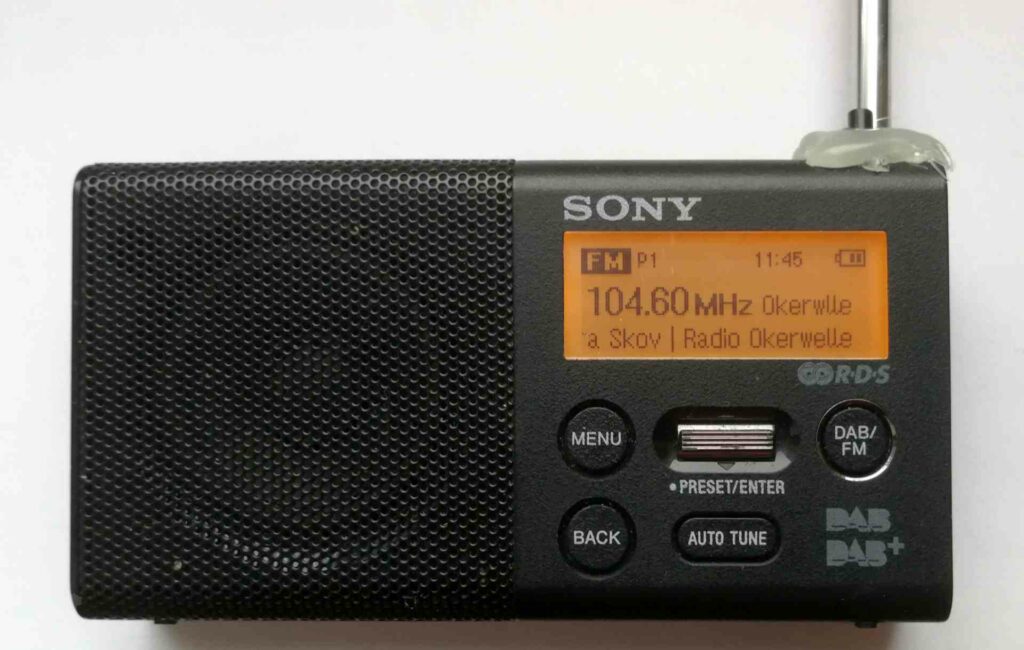
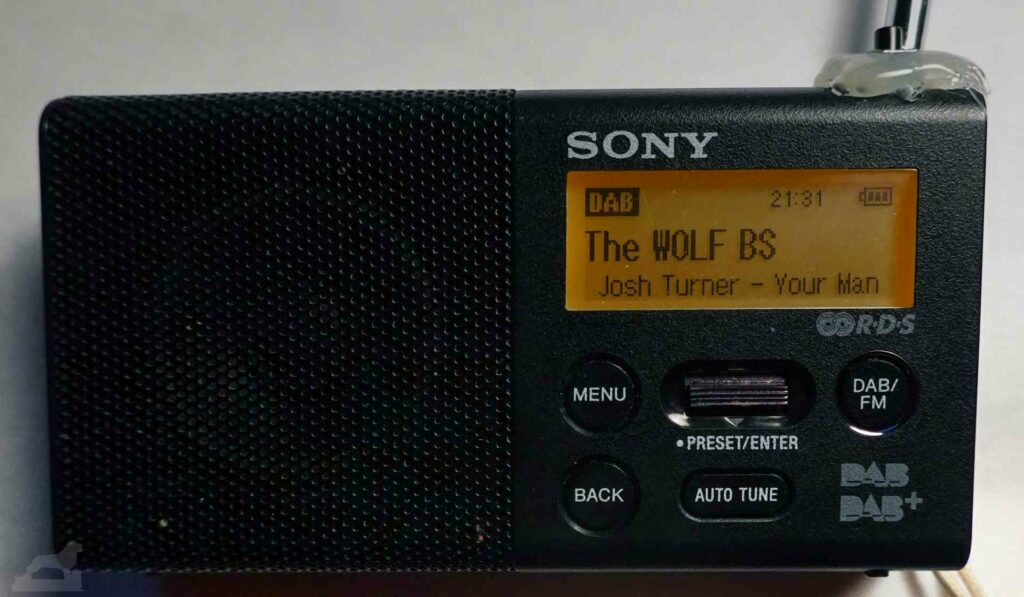
The small DAB/FM pocket radio XDR-P1DBP from Sony is actually a good device. Thanks to its high sensitivity, it receives many stations on both DAB and FM, the sound is very good for a device the size of a packet of cigarettes, operation is simple and intuitive, the built-in battery lasts a long time and the build quality is high.
Unfortunately, the on/off switch is a weak point. There are several reports on the Internet about this problem.
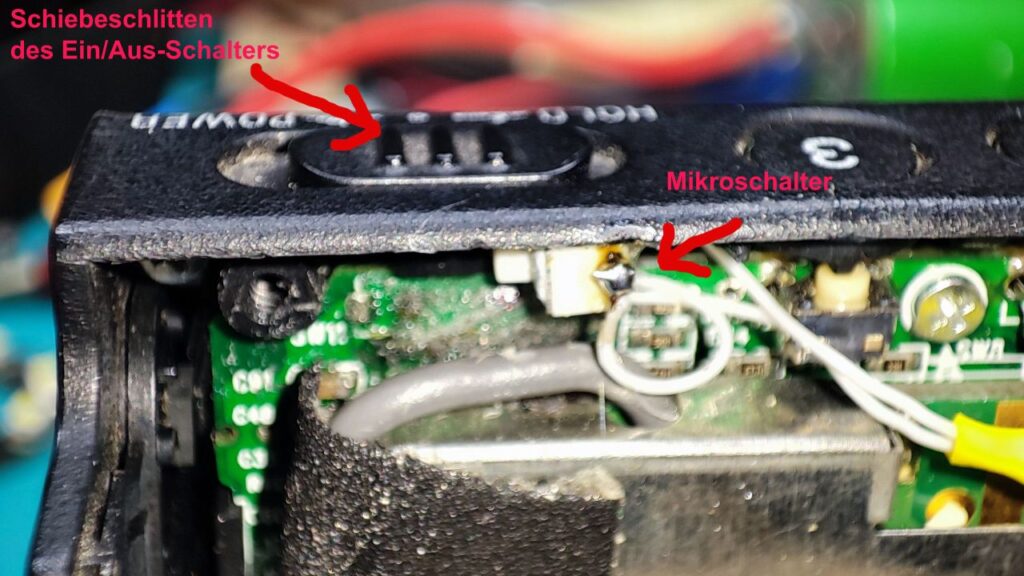
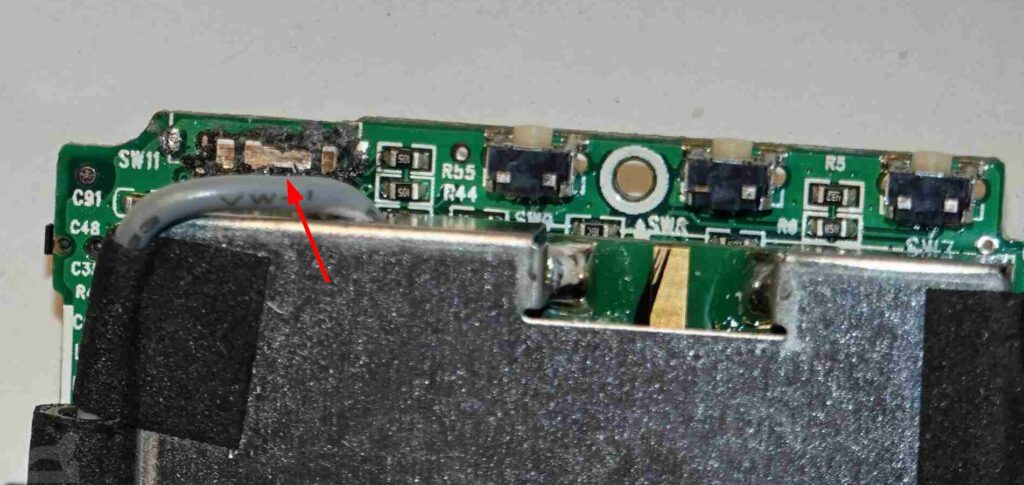
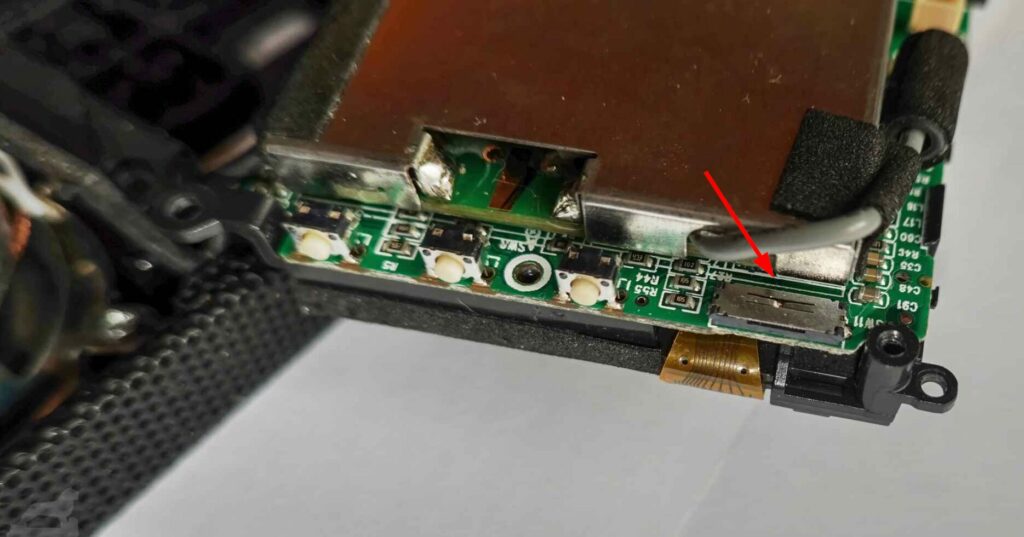
The switch consists of a sliding carriage attached to the housing and a microswitch attached to the circuit board of the device. A thin tab attached to the sliding carriage actuates the microswitch.
If this small, cheap piece of plastic breaks, the radio can no longer be switched on. The sliding carriage reaches into the void and no longer activates the switch on the circuit board. A total loss.
With the device costing €80, it’s not worth repairing it – if you can even find a workshop nearby. So try to repair it yourself. After all, you can’t break a faulty appliance – at best, you can only mend it.
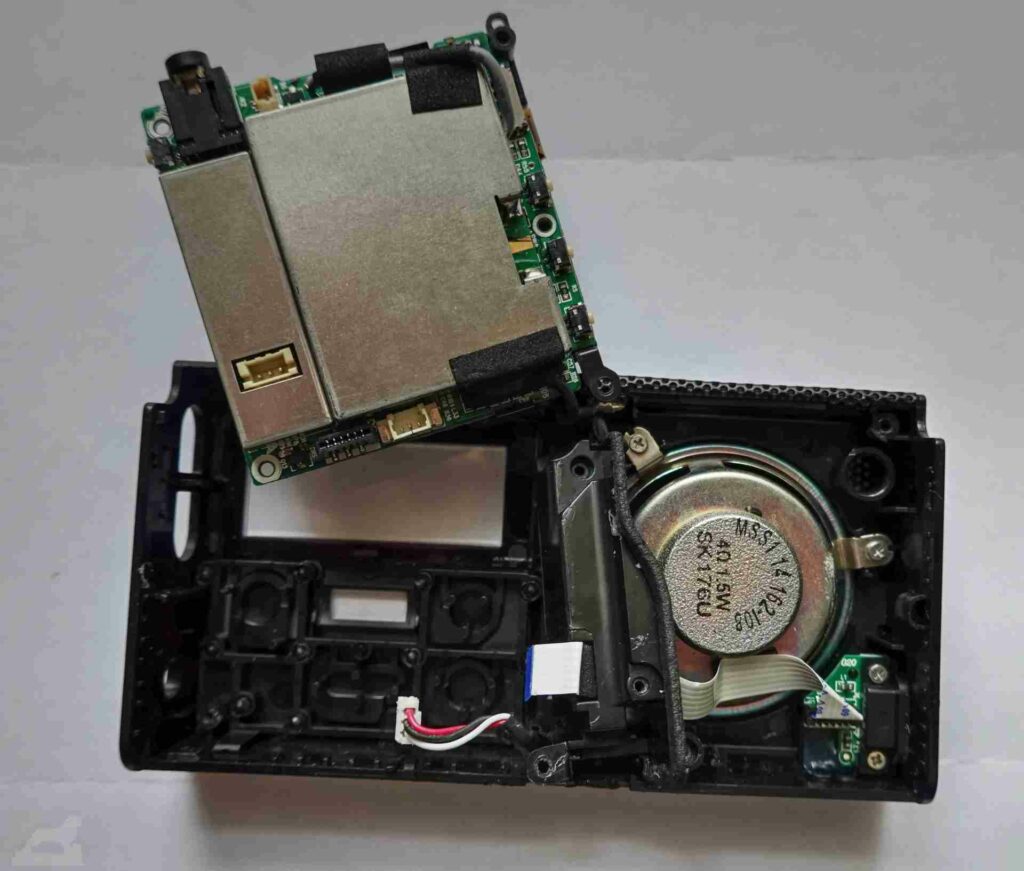
The compact design of the device and the resulting tightness in the housing require some skill when dismantling. Firstly, the outer screws on the housing must be loosened. Then use a sharp knife to prise the two halves of the housing apart.
Next, the plug connections to the aerial, the battery and the USB connection socket must be disconnected. Be careful not to pull the cables out of the connectors or tear the cable. The cables are thin and quite short.
Then remove the partition between the main circuit board and the loudspeaker. Then desolder the black cable that leads from the motherboard to the metal grille of the housing. The main circuit board, which is attached to the housing with screws, can then be removed.
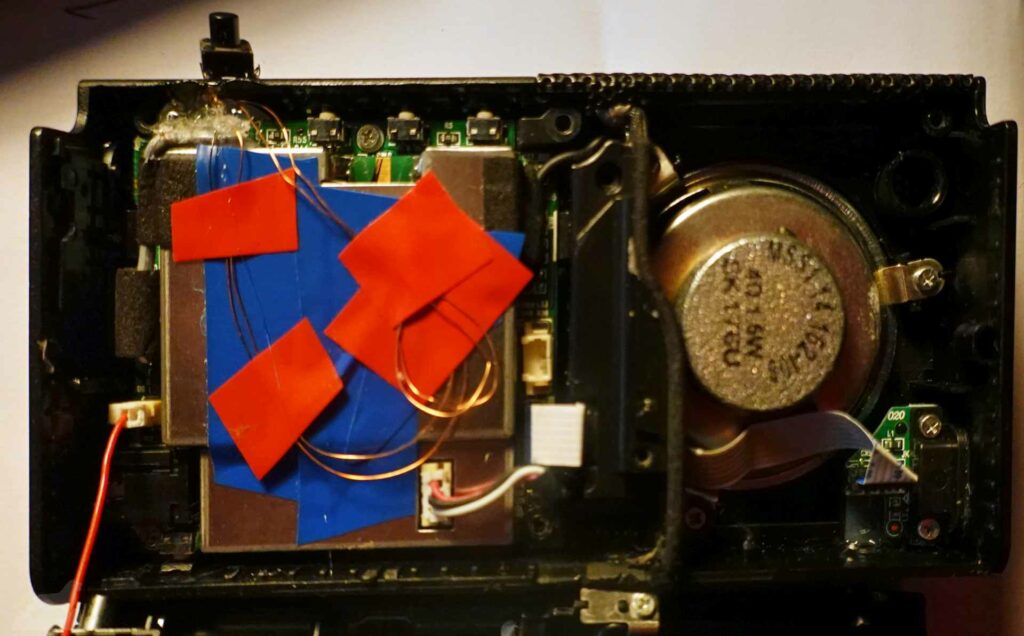
Now comes the most difficult and „dangerous“ part of the operation. The microswitch soldered onto the circuit board must be removed. I melted the microswitch away with a soldering iron in several passes. When everything has worked out, you can see the 5 connections of the microswitch on the circuit board.
Care must be taken when desoldering the switch and removing the remains of the switch from the circuit board, as the conductors and solder pads can easily come loose.
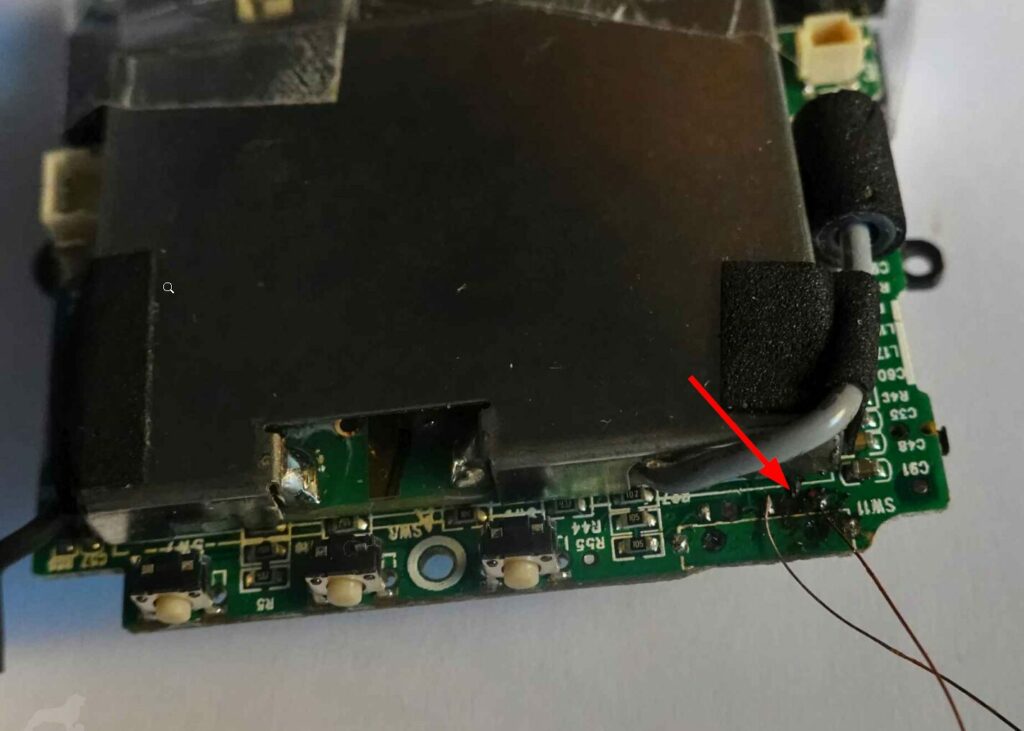
Of the 5 connections, only the centre and right-hand connection (top view of the component side) are relevant. If these two connections are connected briefly, the radio is switched on. Connecting them again switches the radio off. You therefore need a push-button (normally open contact) to connect to these connections.

I soldered very thin and correspondingly flexible enamelled copper wire to the two soldering points mentioned above. To prevent the enamelled copper wires from tearing off, I fixed them to the circuit board with hot glue.
To test the repair attempt for the first time, only the plug connections to the battery and speaker need to be re-established. It is therefore not absolutely necessary to connect the antenna and the USB port (grey ribbon cable). If the radio switches on when the two soldered enamelled copper wires are short-circuited, the operation has been successful.
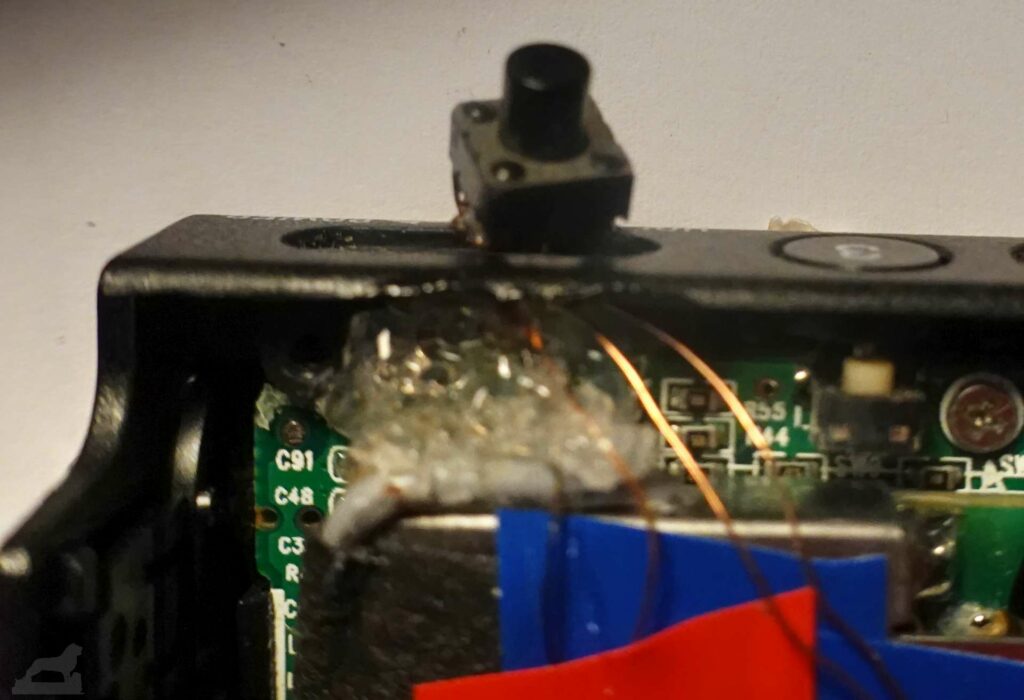
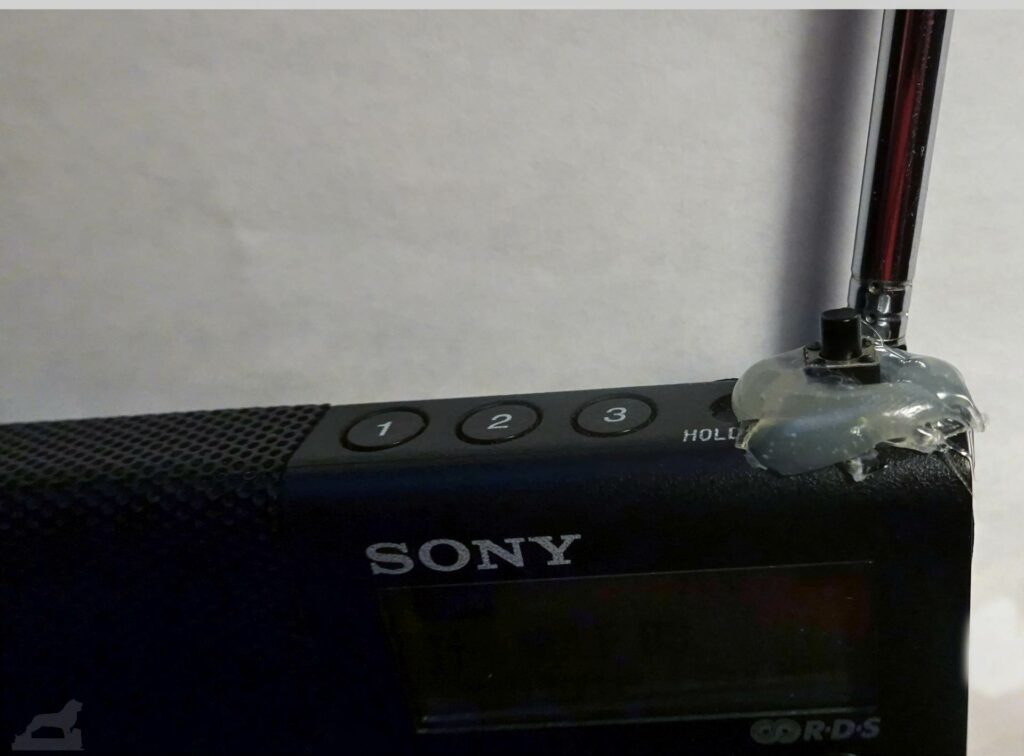
After assembling the housing, I led the enamelled copper wires to the outside at the point of the sliding carriage that I had previously removed. I connected the two outer ends of the enamelled copper wire to a micro switch. The micro switch is then glued to the housing in place of the sliding carriage with a little hot glue. It doesn’t look sexy, but it works. Pressing the button switches the device on, pressing it again switches it off.
The 3 connections that remained free were for the HOLD function, which locks all the buttons on the device to prevent unintentional inputs. I wonder why the Sony designers didn’t use a simple push-button switch for the on/off switch – basically the same as the one for the station buttons 1 – 2 – 3 on the top of the housing – and why hardly anyone would miss the HOLD function, as all the buttons are very flat and have a precise pressure point. This alone makes operating errors unlikely.


…. and here is a short video clip showing the revitalised device in action
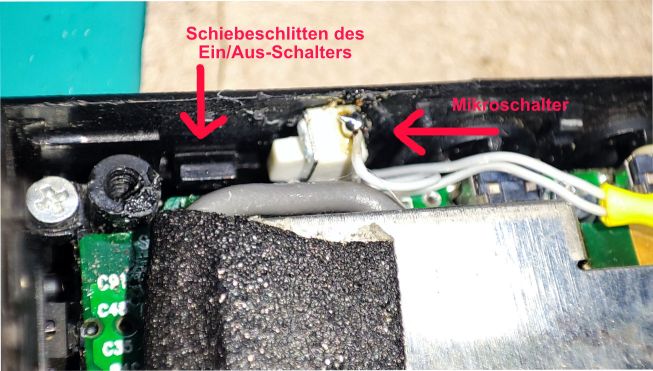
Here are two photos of a more ‘elegant’ design by Anreas@gt@web.de, in which the microswitch is mounted inside the housing. The on/off switch is actuated by the sliding carriage as in the original version.