Instructions for replacing the battery in the Panasonic ES LT-71 shaver
Is your razor no longer working properly and making a whining noise? And is the battery life getting shorter and shorter? At first, it lasts for two or three shaves, but after a few weeks, it only lasts for one. And shortly afterwards, the razor even stops working during shaving..
This indicates that the battery built into the razor is at the end of its life. You don’t have to throw the device away. In many cases, the battery can be replaced relatively easily. All you need is a small Phillips screwdriver and a little (!) manual dexterity.
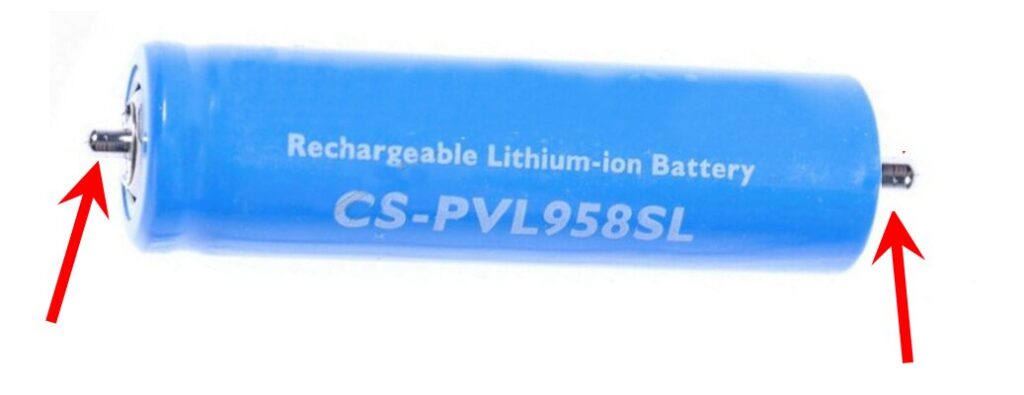
The replacement batteries have the dimensions of a standard AA battery, but the replacement batteries have two approx. 3 mm long mounting pins on each pole. Inexpensive replacement batteries are available from approx. 12 euros.
Below are instructions for replacing the battery in a Panasonic ES LT-71. The steps should be similar for other models with a comparable design.
- Loosen the small Phillips screw above the power plug connection.

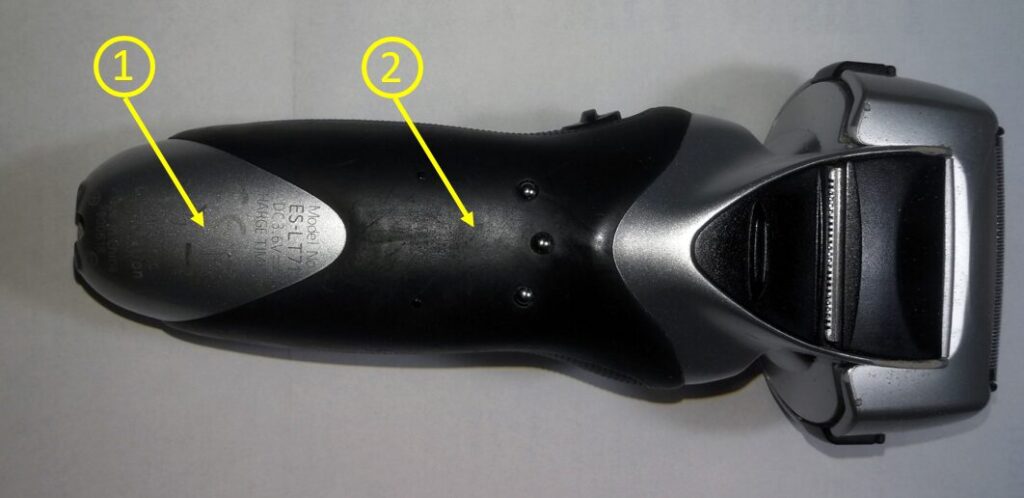
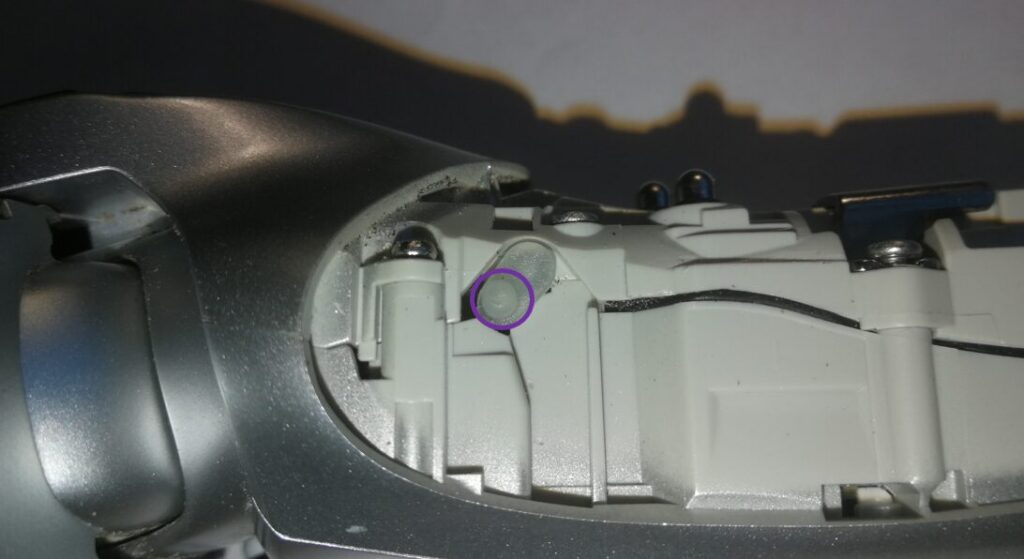
2. Pull the silver cover plate (1) backwards and remove the clipped black cover (2).
3. Loosen the 8 screws that hold the two halves of the housing together and remove the small metal plate. The screws marked in blue are longer than the two marked in red.

4. Housing and parts after removing the screws

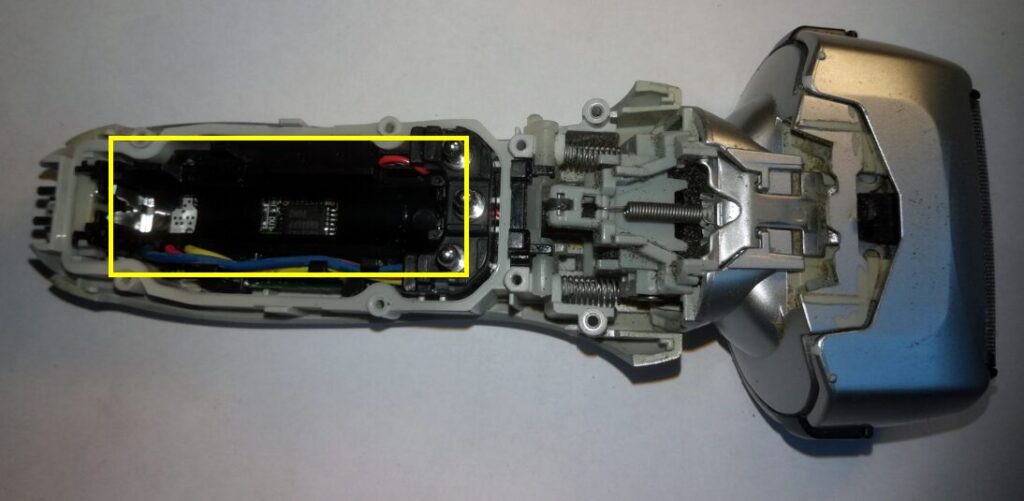
5. Carefully pry the two halves of the housing apart. You will now see the battery. Note the polarity of the battery. The positive terminal points towards the mains plug.

6. Remove the old battery…
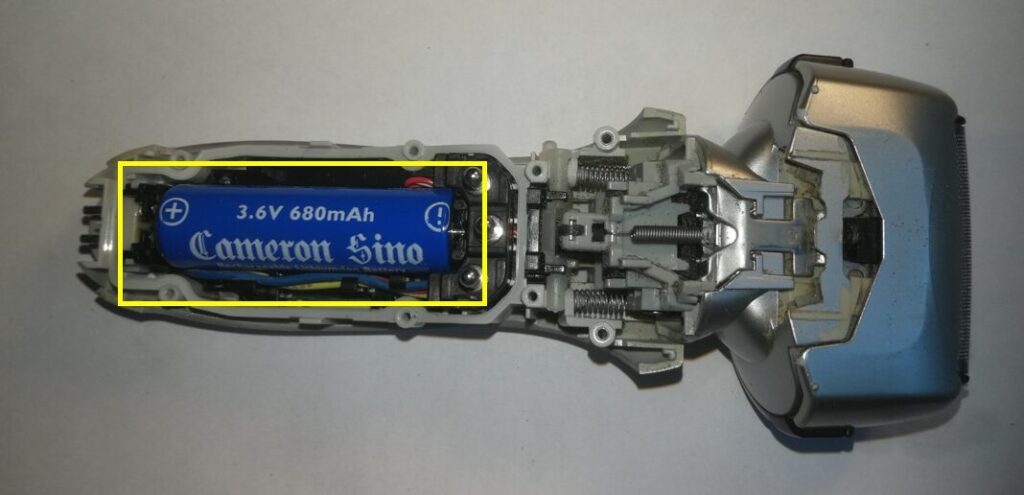
7. … and then insert the new battery. Pay attention to the polarity of the battery when inserting it!
8. Put the two halves of the housing back together. The small gap on the side of the housing is normal. If you now press the on/off switch to test it, the shaver will probably not switch on. New batteries are usually delivered uncharged.
Reinsert the screws. Make sure that the short screws are under the shaving head. Do not tighten the screws too much to prevent the plastic of the housing from cracking.

9. When replacing the black housing cap, ensure that the small lever on the switch (Lock/Soft) engages in the corresponding recess in the housing cap. Then replace the silver cover cap and reinsert the small screw above the power connection.
- Charge the battery.
- Done. It’s also about time for a shave 🙂